Overhead Pressing Progressions: Criteria-based progression for safely returning to overhead lifting (Phase 3)
Step-by-step home exercise guide for Overhead Pressing Progressions to safely return to overhead lifting (Phase 3).
Returning to overhead lifting is a major milestone in shoulder rehabilitation. However, pressing weight directly overhead places significant demand on the rotator cuff, subacromial space, and scapular stabilizers. To prevent re-injury, this Phase 3 program uses a criteria-based progression. This means you only advance to the next level of pressing when you meet specific safety and strength requirements.
Before You Start: Clearance Criteria
To safely begin this progression, you should meet the following criteria:
- Full Mobility: Able to raise your arm overhead (at least 150 degrees of flexion) without pain or compensation.
- Rotator Cuff Strength: Adequate strength in shoulder external rotation, verified by your therapist or doctor.
- Scapular Control: No shrugging or winging of the shoulder blade when raising your arm.
- Symptom Control: No pain or pinching sensations during daily activities.
The 4-Step Pressing Progression
Start with Exercise 1. Only progress to the next exercise when you can perform the current one with perfect form, no pain, and minimal effort for three consecutive sessions.
Exercise 1: Angled Landmine Press
Purpose: The angled press is the perfect transition to overhead work. By pressing at an angle (roughly 45 degrees), you reduce the direct vertical load on the shoulder joint while training the movement pattern.
Equipment Needed: A barbell placed in a landmine attachment (or wedged securely in a corner using a towel).
Starting Position: Stand with feet hip-width apart. Hold the end of the barbell in your affected hand at shoulder height, elbow bent and tucked close to your side. Engage your core.
Step-by-Step Instructions:
- Exhale and press the bar up and forward until your arm is fully extended but not locked.
- Focus on pushing through your shoulder blade, allowing it to slide naturally up and around your ribcage at the top of the movement.
- Slowly lower the bar back to the starting position under control.
- Keep your body upright; do not lean backward or twist your torso.
Dosage: 3 sets of 10 to 12 repetitions, 2 to 3 times per week.
Tips & Common Mistakes: Avoid letting your elbow flare out wide. Keep the motion smooth and controlled, avoiding any shrugging toward your ear.
Exercise 2: Half-Kneeling Kettlebell Bottoms-Up Press
Purpose: Holding the kettlebell upside down creates instability. This forces your rotator cuff muscles to fire dynamically to balance the weight, building deep joint stability before you press heavier loads.
Equipment Needed: A light kettlebell.
Starting Position: Assume a half-kneeling position (on one knee). If pressing with the right arm, kneel on your right knee. Hold the kettlebell by the handle, bottom pointing straight up, at shoulder height with a neutral grip (palm facing inward).
Step-by-Step Instructions:
- Squeeze the kettlebell handle firmly to activate the rotator cuff.
- Slowly press the kettlebell straight up toward the ceiling, keeping it balanced.
- Extend your arm fully, ensuring your elbow stays aligned with your ear at the top.
- Slowly lower the kettlebell back to your shoulder under strict control, maintaining the bottoms-up position.
Dosage: 3 sets of 8 to 10 repetitions, 2 to 3 times per week.
Tips & Common Mistakes: Squeezing the handle is key to keeping the bell balanced. If it wobbles excessively, use a lighter weight or revert to a dumbbell press until stability improves.
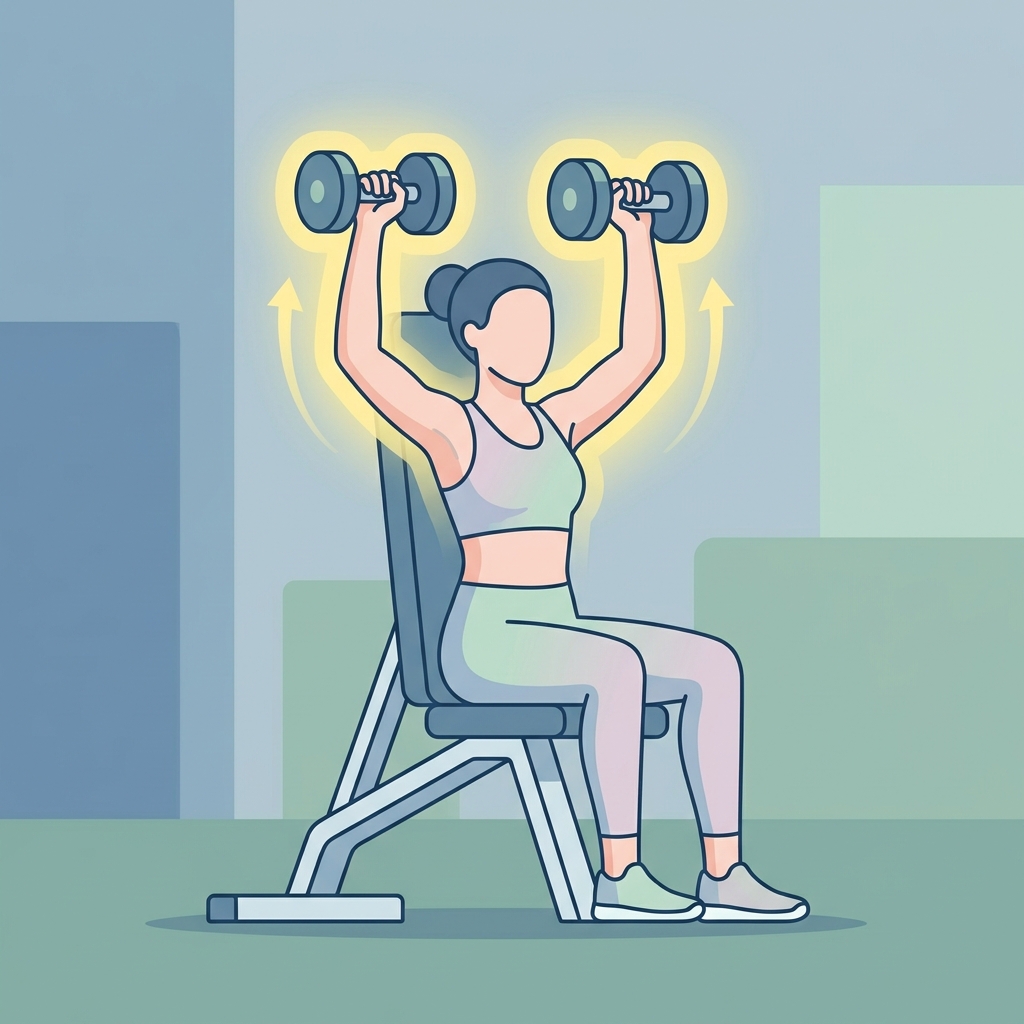
Exercise 3: Seated Dumbbell Overhead Press (Neutral Grip)
Purpose: The seated position stabilizes your lower body, allowing you to focus purely on shoulder control. Using a neutral grip (palms facing each other) positions the arm in the scapular plane, minimizing mechanical pinching (impingement) in the subacromial space.
Equipment Needed: A pair of dumbbells and a supportive chair or bench.
Starting Position: Sit upright in a chair with back support. Hold dumbbells at shoulder height with your palms facing each other (neutral grip). Keep your feet flat on the floor.
Step-by-Step Instructions:
- Engage your abdominal muscles to keep your lower back flat against the chair.
- Press the dumbbells straight up overhead until your arms are fully extended.
- Keep your elbows pointing slightly forward (in the scapular plane), not flared out to the sides.
- Slowly lower the dumbbells back to the starting position under control.
Dosage: 3 sets of 8 to 10 repetitions, 2 to 3 times per week.
Tips & Common Mistakes: Do not arch your lower back to complete the lift. If you cannot press the weight without arching, the weight is too heavy or you need to improve thoracic mobility.
Exercise 4: Dumbbell Push Press
Purpose: This exercise introduces a "leg drive" to assist the shoulder. By using your legs to generate upward momentum, you reduce the initial force required by the shoulder muscles, teaching them to transfer energy from the ground up.
Equipment Needed: A pair of light dumbbells.
Starting Position: Stand with feet shoulder-width apart. Hold the dumbbells at shoulder height with a neutral grip. Keep your chest up and core tight.
Step-by-Step Instructions:
- Perform a quick, shallow dip by bending your knees slightly (only 2 to 3 inches). Keep your torso vertical.
- Explosively extend your hips and knees, using the momentum to drive the dumbbells overhead.
- Finish the lift with your arms locked out overhead, body in a straight line.
- Slowly lower the dumbbells back to your shoulders under control, bending your knees slightly to absorb the impact.
Dosage: 3 sets of 6 to 8 repetitions, 2 times per week.
Tips & Common Mistakes: This is a dynamic, powerful movement. Ensure the transition from the leg dip to the press is seamless. Do not use heavy weights that compromise your posture at the top.
Always consult with your physical therapist or doctor before starting a new exercise routine. If any exercise causes persistent pain or swelling, discontinue it and contact your healthcare provider.
Disclaimer: This guide provides general exercise instructions and is not a substitute for professional medical advice. Always consult your doctor or qualified healthcare provider with any questions you may have regarding your specific medical condition and treatment plan.

Related articles
Browse all articlesTrusted External Resources
Curated educational materials to help you make informed decisions about your orthopaedic bone & joint conditions.

Orthopaedia

Orthogate Patient Education