
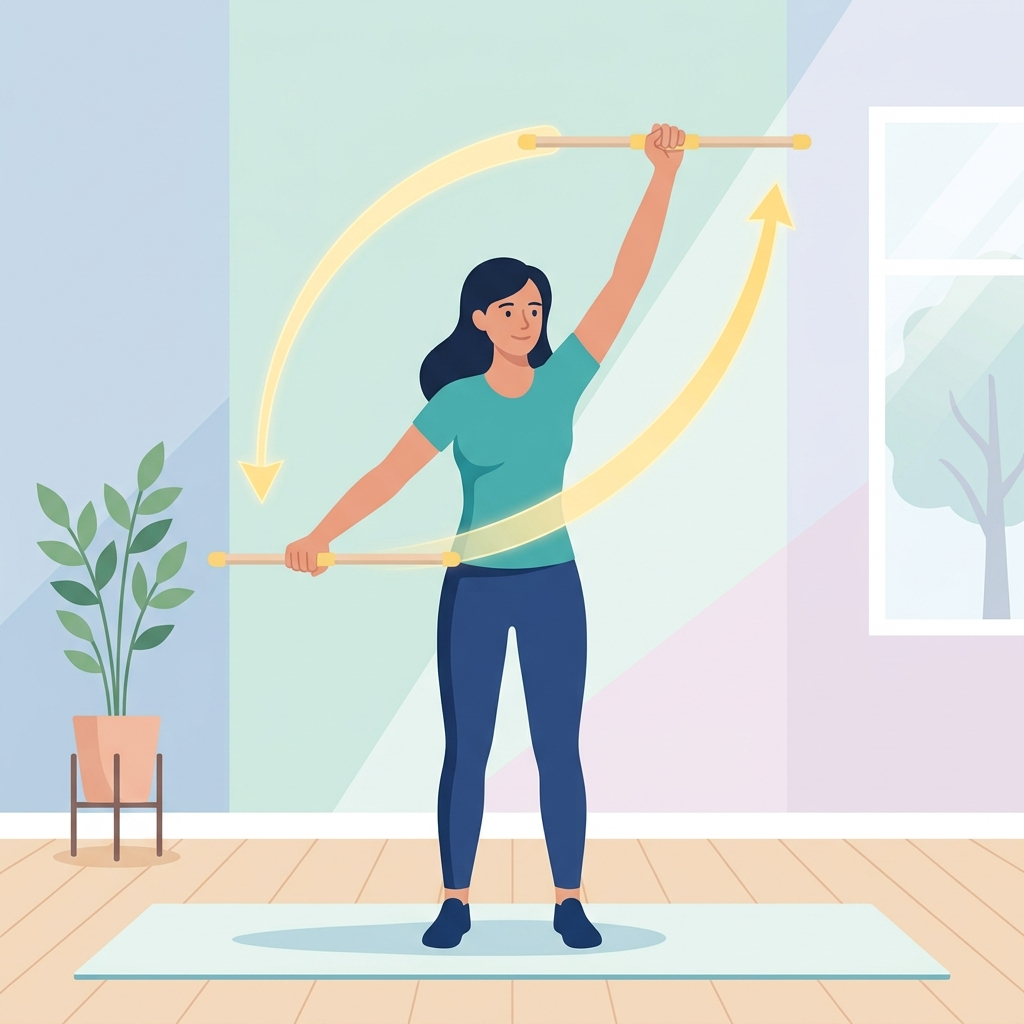
Gentle AAROM (Phase 1) Exercises
Step-by-step home exercise guide for Gentle AAROM: Re-establishing basic movement arcs without muscle guarding (Phase 1) to improve mobility, strength, and recovery.
Active-Assisted Range of Motion (AAROM) is a vital first step in shoulder rehabilitation. When a shoulder is painful, stiff, or recovering from injury, the muscles surrounding the joint often contract protectively—a phenomenon known as "muscle guarding." Muscle guarding can restrict movement, increase pain, and delay healing. The goal of Gentle AAROM is to re-establish your shoulder's basic movement arcs without triggering this guarding reflex. By using your non-injured arm or a simple tool (like a wand, cane, or table surface) to assist the movement, you can keep the healing shoulder muscles relaxed while safely restoring mobility.
General Guidelines & Safety Precautions
- Warm-up: Apply a warm compress to the shoulder for 5 to 10 minutes prior to exercising to relax the muscles.
- The Pain Rule: Exercises should be performed in a pain-free or minimal-discomfort range. If you feel a sharp, pinching, or sudden pain, back off the movement immediately. Do not force the shoulder.
- Muscle Guarding Check: Ensure your shoulder and neck muscles remain relaxed. If you feel your shoulder shrugging up toward your ear, pause, lower your arm, and focus on keeping the muscles quiet.
Exercise 1: Supine Wand Flexion
Purpose: Safely restore forward elevation (raising your arm) while lying down, which removes the effects of gravity on the shoulder.
Equipment Needed: A light wand, cane, broomstick, or PVC pipe.
Starting Position: Lie flat on your back on a firm bed or exercise mat. Hold the wand with both hands, palms facing down, shoulder-width apart. Your elbows should be relatively straight.
Step-by-Step Instructions:
- Keep your injured arm relaxed. Use your healthy arm to push the wand up toward the ceiling.
- Continue slowly guiding the wand overhead as far as comfortable without causing pain.
- Hold the position at the top of your comfortable range for 5 to 10 seconds.
- Slowly lower the wand back to the starting position, letting the healthy arm control the descent.
Dosage/Parameters: 2 sets of 10 repetitions, twice daily.
Tips/Common Mistakes to Avoid: Do not shrug your shoulder up toward your ear. If your back starts to arch off the bed, you have gone too far; keep your spine neutral.
Exercise 2: Supine Wand External Rotation
Purpose: Re-establish external rotation (outward rotation) of the shoulder joint, which is crucial for overhead reaching and daily tasks.
Equipment Needed: A light wand, cane, or broomstick.
Starting Position: Lie flat on your back. Keep your injured elbow bent at 90 degrees and tucked close to your side (you can place a small folded towel under your elbow to keep it aligned). Hold the wand with both hands.
Step-by-Step Instructions:
- Grip the wand so your hands are shoulder-width apart.
- Keeping the elbow of your injured arm tucked at your side, use your healthy arm to push the wand horizontally toward your injured side. This will gently rotate your injured forearm outward.
- Hold this stretch at the end of your comfortable range for 5 to 10 seconds.
- Slowly return to the starting position.
Dosage/Parameters: 2 sets of 10 repetitions, twice daily.
Tips/Common Mistakes to Avoid: Do not let your injured elbow slide away from your body. Keep your wrist straight; do not bend it to get extra rotation.
Exercise 3: Table Slides (Forward Flexion)
Purpose: Utilize a flat surface to support the weight of your arm while gently increasing forward shoulder flexion.
Equipment Needed: A table or desk, and a small towel or paper plate (to slide smoothly).
Starting Position: Sit upright in a chair facing a table. Place your injured arm on the table, resting your forearm and hand on a small towel.
Step-by-Step Instructions:
- Rest the weight of your arm completely on the table.
- Slide your hand and forearm forward across the table, leaning your chest forward slightly from the hips to increase the stretch. Let the sliding surface support the entire weight of your arm; do not lift it.
- Reach forward until you feel a gentle stretch in the back of your shoulder or armpit.
- Hold for 5 to 10 seconds.
- Use your torso and the table to help slide your arm back to the starting position.
Dosage/Parameters: 2 sets of 10 repetitions, twice daily.
Tips/Common Mistakes to Avoid: Avoid shrugging the shoulder. Ensure your hand slides straight forward, not twisting outward or inward.
Exercise 4: Passive Wall Slides with Towel
Purpose: Transition toward upright shoulder elevation using the wall to slide and offload the arm's weight.
Equipment Needed: A wall, and a small towel.
Starting Position: Stand facing a wall. Place the side of your little finger of the injured hand on a small towel against the wall at about chest height.
Step-by-Step Instructions:
- Step slightly forward with one foot for stability.
- Keeping your forearm and hand in contact with the towel, slowly slide the towel up the wall by taking a step closer to the wall. The wall should support the weight of your arm. Only go as high as comfortable without shrugging or arching your back.
- Hold the stretch at the top for 5 to 10 seconds.
- Slowly slide back down to the starting position.
Dosage/Parameters: 2 sets of 10 repetitions, twice daily.
Tips/Common Mistakes to Avoid: Do not lean away from the wall or arch your lower back to get higher. Keep the movement smooth and controlled.
Always consult with your physical therapist or doctor before starting a new exercise routine. If any exercise causes persistent pain or swelling, discontinue it and contact your healthcare provider.
Disclaimer: This guide provides general exercise instructions and is not a substitute for professional medical advice. Always consult your doctor or qualified healthcare provider with any questions you may have regarding your specific medical condition and treatment plan.

Related articles
Browse all articlesTrusted External Resources
Curated educational materials to help you make informed decisions about your orthopaedic bone & joint conditions.

Orthopaedia

Orthogate Patient Education