
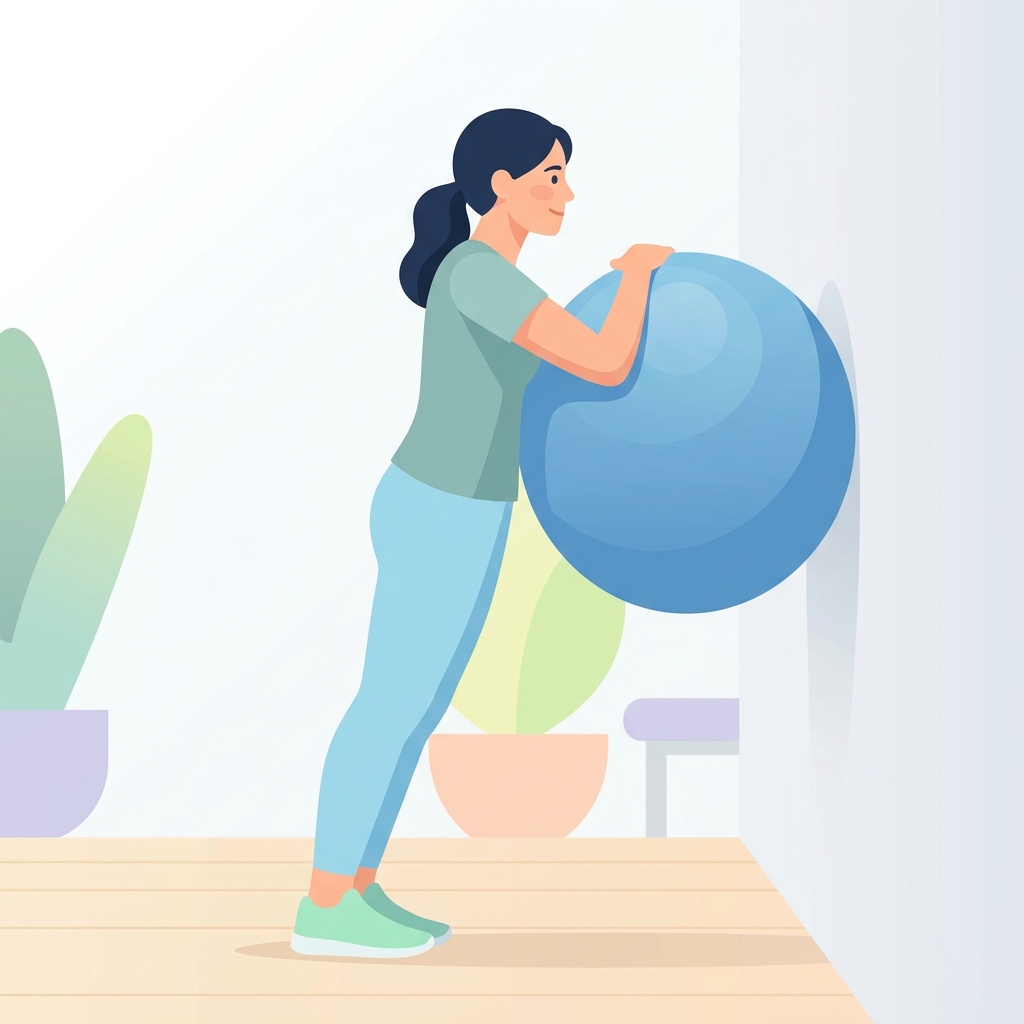
Dynamic Stabilization Drills Exercises
Step-by-step home exercise guide for Dynamic Stabilization Drills to improve shoulder mobility, strength, and recovery.
Active shoulder rehabilitation relies heavily on training the rotator cuff to respond quickly to movement and external forces. Dynamic stabilization drills, also known as reactive neuromuscular training, teach your shoulder muscles to fire rapidly and automatically. These exercises are particularly useful for restoring confidence, stability, and coordination in the joint, whether you are recovering from an injury, managing chronic instability, or preparing to return to sports or daily activities.
General Guidelines & Safety Precautions
To perform these dynamic stabilization drills safely and effectively, please observe the following guidelines:
- Warm-Up: Spend 5 to 10 minutes performing light, active range of motion movements (like arm swings or shoulder rolls) before starting these drills to ensure proper blood flow to the joint.
- The Pain Rule: These exercises should be challenging but never painful. If you feel sharp, stabbing pain or pinching in the shoulder, stop immediately. Mild muscle fatigue is normal and expected.
- Postural Focus: Maintain excellent posture throughout each drill. Keep your chest open, your neck relaxed, and your shoulder blades drawn slightly back and down.
Dynamic Stabilization Exercises
Exercise 1: Swiss Ball Wall Stabilizations
Purpose: To train the rotator cuff to react and stabilize the shoulder joint as you move the arm dynamically against resistance.
Equipment Needed: A medium-sized Swiss ball (exercise ball) and a flat wall.
Starting Position: Stand facing a wall. Place the Swiss ball against the wall at shoulder height. Place the palm of your affected hand flat on the center of the ball, keeping your elbow bent at about a 90-degree angle.
Instructions:
- Apply a gentle, steady forward pressure into the ball.
- While maintaining this pressure, slowly roll the ball in small, controlled circles (clockwise and counterclockwise).
- Keep your shoulder blade drawn slightly back and down; do not let your shoulder shrug toward your ear.
- Perform the movements slowly and smoothly, focusing on keeping the ball steady.
Dosage: Perform 3 sets of 30 seconds (15 seconds clockwise, 15 seconds counterclockwise) per arm, 1 to 2 times daily.
Tips/Common Mistakes: Avoid shrugging the shoulder. Do not push too hard; the pressure should be light and comfortable. Keep your body upright and still—do not lean your whole body weight into the ball.
Exercise 2: Supine Rhythmic Stabilization
Purpose: To improve the rotator cuff's ability to fire rapidly and keep the shoulder joint centered when unexpected forces are applied.
Equipment Needed: None (can be performed with a partner or using your other hand for self-resistance).
Starting Position: Lie flat on your back on a comfortable surface. Raise your affected arm straight up toward the ceiling (90 degrees of shoulder flexion), keeping the elbow straight but not locked.
Instructions:
- Keep your arm as still as possible in this vertical position.
- If working with a partner, have them apply light, rapid, unpredictable taps or pushes in different directions (forward, backward, left, right) on your hand or forearm.
- If exercising alone, use your other hand to apply these light, quick taps in various directions.
- Your goal is to react quickly to the taps and prevent your vertical arm from moving out of position.
Dosage: Perform 3 sets of 30 to 45 seconds, 1 to 2 times daily.
Tips/Common Mistakes: Do not grip or squeeze too hard; the responses should be reactive, not rigid. Keep the shoulder blade flat on the floor to maintain a stable base. Avoid holding your breath during the drill.
Exercise 3: Tabletop Swiss Ball Dynamic Hold
Purpose: To build stability and endurance in the shoulder muscles in a functional, weight-bearing position.
Equipment Needed: A Swiss ball and a sturdy table or desk.
Starting Position: Place the Swiss ball on top of a table. Stand upright and place both forearms (or the palm of the affected hand) on top of the ball.
Instructions:
- Lean forward slightly to place a comfortable amount of weight onto the ball.
- Keep your core engaged and your shoulders pressed down away from your ears.
- Using your hands or forearms, make very small, rapid pulses or shakes on the ball, forcing your shoulder muscles to react quickly to keep the ball from rolling away.
- Alternatively, have a partner gently tap the ball in different directions while you try to keep it perfectly still.
Dosage: Perform 3 sets of 30 seconds, 1 to 2 times daily.
Tips/Common Mistakes: Do not let your chest collapse or your upper back round. Ensure your feet are firmly planted on the floor for safety. Discontinue if you feel sharp pinching in the front of the shoulder.
Exercise 4: Quadruped Swiss Ball Wall Hold
Purpose: To develop deep stability in the rotator cuff and scapular muscles in a crawling (all-fours) position.
Equipment Needed: A Swiss ball and a flat wall.
Starting Position: Get down on your hands and knees facing a wall. Place the Swiss ball between the wall and the palm of your affected hand, keeping the other hand flat on the floor.
Instructions:
- Gently press your hand forward into the ball to trap it against the wall.
- Maintain a flat back, a neutral neck, and a strong core.
- While keeping the ball pressed against the wall, apply light, rapid, alternating pulses (up and down, left and right) to create small perturbations.
- Focus on keeping your shoulder joint stable and preventing the ball from slipping or rolling out of control.
Dosage: Perform 3 sets of 20 to 30 seconds per side, 1 time daily.
Tips/Common Mistakes: Do not let your lower back sag or your hips twist. Keep your head aligned with your spine (do not look down at your knees or up at the ceiling). Pushing too hard can lead to fatigue and poor form, so keep the pressure moderate.
Always consult with your physical therapist or doctor before starting a new exercise routine. If any exercise causes persistent pain or swelling, discontinue it and contact your healthcare provider.
Disclaimer: This guide provides general exercise instructions and is not a substitute for professional medical advice. Always consult your doctor or qualified healthcare provider with any questions you may have regarding your specific medical condition and treatment plan.

Related articles
Browse all articlesTrusted External Resources
Curated educational materials to help you make informed decisions about your orthopaedic bone & joint conditions.

Orthopaedia

Orthogate Patient Education