
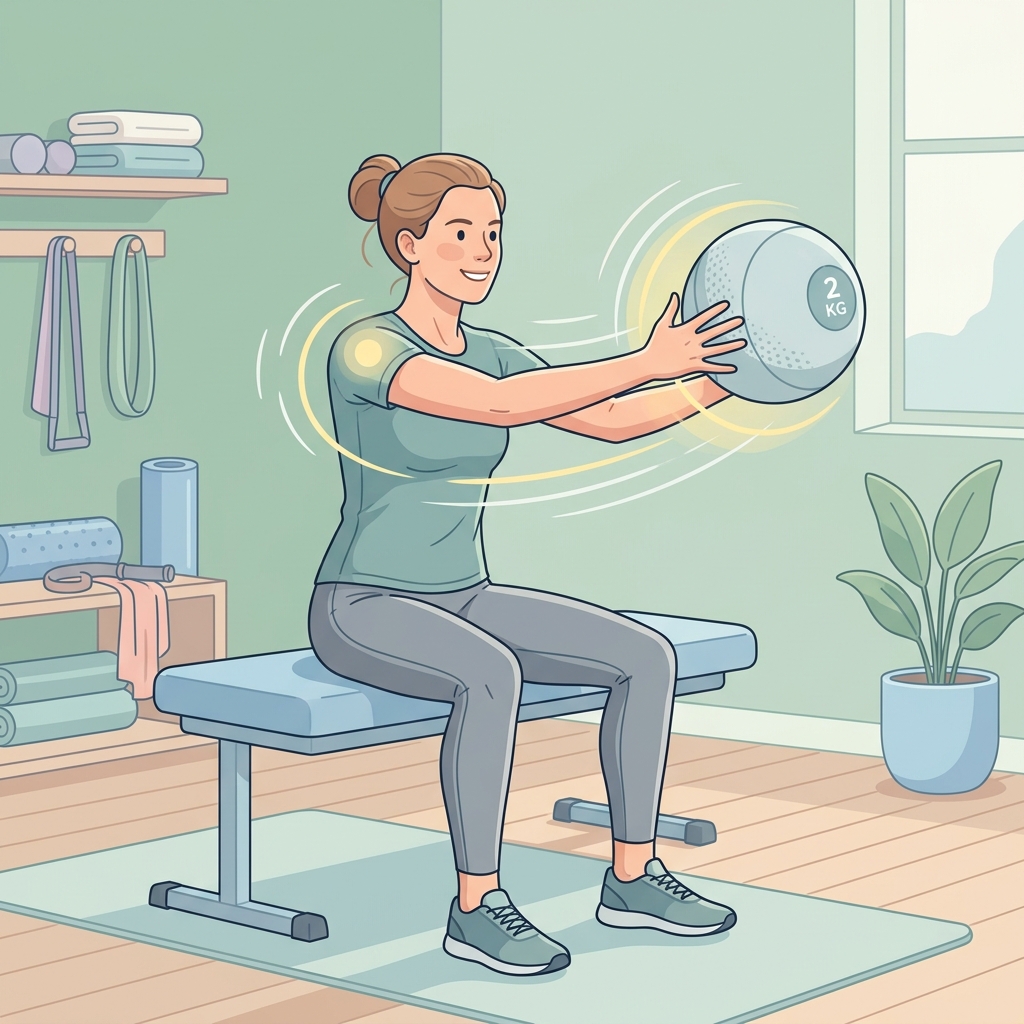
Medicine Ball Deceleration Drills (Phase 3)
Step-by-step home exercise guide for Medicine Ball Deceleration Drills to train the rotator cuff to absorb force during high-velocity movements (Phase 3).
Active rehabilitation is a cornerstone of recovery. In Phase 3 of your shoulder rehab, the focus shifts to dynamic, high-velocity movements. Medicine ball deceleration drills are designed to train your rotator cuff to act as a reactive braking system, absorbing force and stabilizing the joint during fast, athletic, or overhead movements. By teaching your muscles to absorb impact, you protect the joint from injury and prepare your shoulder for a return to sports, heavy lifting, or daily overhead tasks.
General Guidelines & Safety Precautions
- Perform a thorough warm-up: Never start these drills cold. Complete 5-10 minutes of gentle range of motion exercises (such as wall slides or light resistance band rotations) before beginning.
- Start very light: Use a medicine ball weighing only 1 to 3 pounds (0.5 to 1.5 kg). High-velocity training does not require heavy weights; speed and control are the goals.
- Prioritize control: If you feel your form breaking down or if you cannot catch the ball smoothly, stop and rest. Quality of movement is critical.
- The Pain Rule: These drills should not cause sharp or stabbing pain. A mild, muscular fatigue is normal. If you experience sharp pain, stop immediately and consult your therapist.
Exercise 1: Standing Medicine Ball Overhead Drop & Catch
Purpose: To train the rotator cuff and scapular stabilizers to dynamically decelerate downward forces in an overhead position.
Equipment Needed: A light (1-2 lb) medicine ball.
Starting Position: Stand tall with your feet shoulder-width apart. Hold the medicine ball overhead with both hands, arms nearly straight but elbows not locked.
Step-by-Step Instructions:
- Briefly release your grip on the medicine ball so it drops a few inches.
- Quickly catch the ball with both hands, immediately absorbing the impact by slightly bending your elbows and allowing the shoulders to control the deceleration.
- Do not let the ball drop below head height during the catch. Pause to regain complete control.
- Press the ball back up to the starting position and repeat.
Dosage: Perform 2 to 3 sets of 10 to 12 repetitions, 2 to 3 times per week.
Tips & Common Mistakes: Keep your core engaged and avoid arching your lower back. Do not shrug your shoulders up to your ears when catching the ball.
Exercise 2: Medicine Ball Wall Chest Pass Rebounds
Purpose: To develop rapid force absorption and reactive rotator cuff firing in front of the body.
Equipment Needed: A light (1-2 lb) medicine ball and a sturdy wall (concrete or brick).
Starting Position: Stand facing the wall, about 2 to 3 feet away. Hold the ball with both hands at chest level.
Step-by-Step Instructions:
- Toss the ball chest-pass style against the wall.
- As the ball rebounds off the wall, catch it with both hands.
- Immediately absorb the impact by bringing the ball back to your chest in a soft, controlled, fluid motion.
- Focus on a quick catch that completely halts the ball's momentum rather than letting it bounce off your chest. Repeat.
Dosage: Perform 3 sets of 12 to 15 repetitions, 2 to 3 times per week.
Tips & Common Mistakes: Avoid catching the ball with stiff, locked elbows. Ensure the catch is quiet and controlled.
Exercise 3: Standing Side-Toss Deceleration Catch
Purpose: To train the internal and external rotators of the rotator cuff to absorb and decelerate rotational forces.
Equipment Needed: A light (1-3 lb) medicine ball and a sturdy wall.
Starting Position: Stand sideways to the wall, about 3 feet away. Hold the ball at hip height with both hands.
Step-by-Step Instructions:
- Rotate your torso away from the wall to wind up, then toss the ball underhand against the wall.
- As the ball rebounds, catch it with both hands and immediately rotate back to the starting wound-up position.
- Focus on using your shoulder and core muscles to decelerate the ball's momentum smoothly.
- Complete a full set on one side, then turn around and repeat on the other side.
Dosage: Perform 2 to 3 sets of 10 repetitions per side, 2 to 3 times per week.
Tips & Common Mistakes: Pivot your back foot and rotate your hips to help absorb the force, rather than forcing your shoulder to do all the work.
Exercise 4: Prone Medicine Ball Drops (Deceleration Focus)
Purpose: To isolate the posterior rotator cuff (eccentric external rotators) in a gravity-resisted position.
Equipment Needed: A light (1-2 lb) medicine ball and a bed or sturdy table.
Starting Position: Lie face down (prone) on a bed or table. Position your arm so that your shoulder is at 90 degrees of abduction (elbow aligned with shoulder) and the forearm hangs off the edge pointing down at a 90-degree angle.
Step-by-Step Instructions:
- Hold the medicine ball in your hand. Let go of the ball briefly or have a partner drop it from a short height (1-2 inches) into your hand.
- Catch the ball and immediately decelerate the downward motion, preventing your arm from dropping too fast. Keep your upper arm still.
- Gently lift the ball back to the starting horizontal position using your other hand or assistance from a partner.
- Repeat the drop and catch cycle.
Dosage: Perform 2 sets of 8 to 10 repetitions, 2 times per week.
Tips & Common Mistakes: Do not let the shoulder tip forward or slip out of alignment during the catch. Keep the movement focused purely on shoulder rotation.
Always consult with your physical therapist or doctor before starting a new exercise routine. If any exercise causes persistent pain or swelling, discontinue it and contact your healthcare provider.
Disclaimer: This guide provides general exercise instructions and is not a substitute for professional medical advice. Always consult your doctor or qualified healthcare provider with any questions you may have regarding your specific medical condition and treatment plan.

Related articles
Browse all articlesTrusted External Resources
Curated educational materials to help you make informed decisions about your orthopaedic bone & joint conditions.

Orthopaedia

Orthogate Patient Education