
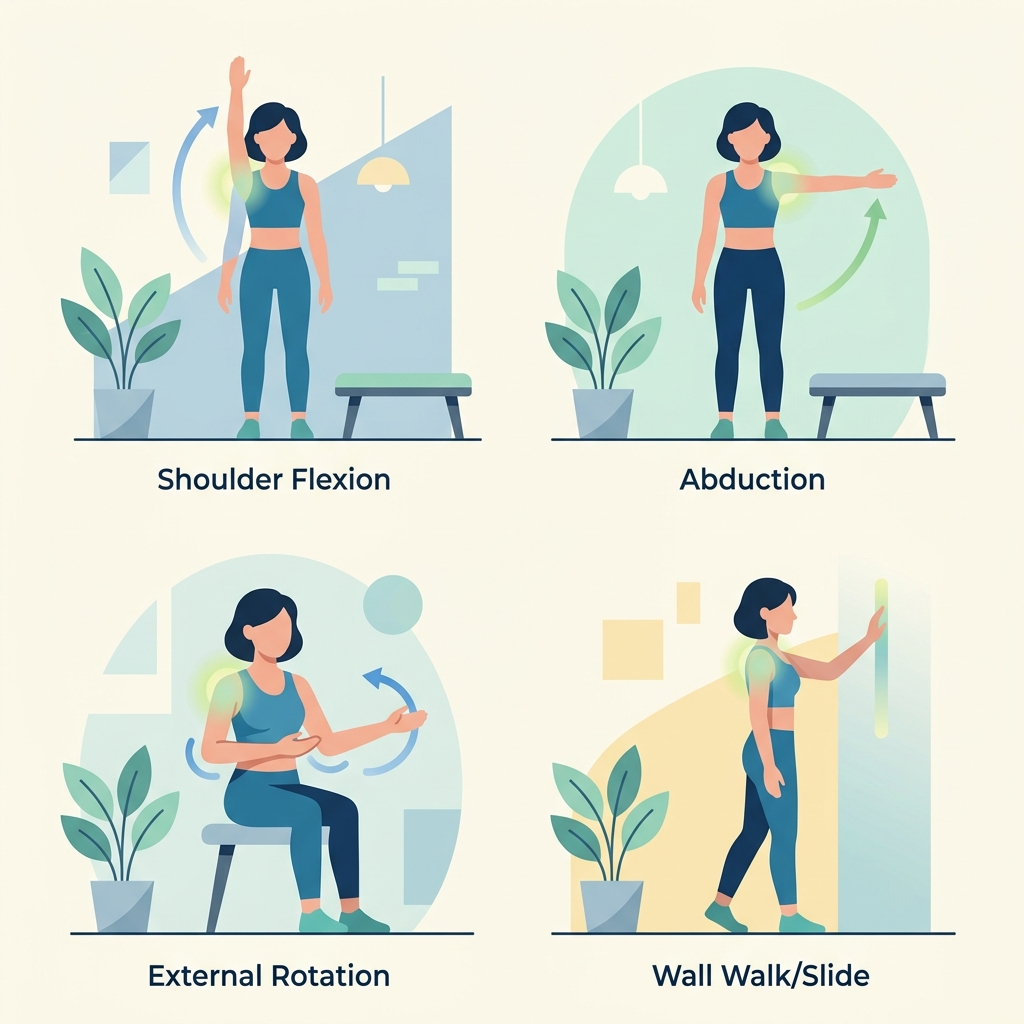
Hydrodilatation or Corticosteroid Adjunct Exercises
Step-by-step home exercise guide for Hydrodilatation or Corticosteroid Adjunct Exercises to maximize mobility, strength, and recovery.
Having a shoulder injection or a hydrodilatation procedure can provide a welcome release from severe shoulder pain and stiffness, especially for conditions like frozen shoulder. However, the procedure itself is only the first step. The medication or fluid opens up a temporary \"movement window\"—a golden opportunity where your pain is reduced and your joint capsule is more flexible. To get the best results, you must start moving your shoulder during this time. This guide outlines simple, gentle exercises to help you maximize your recovery and reclaim your shoulder mobility.
General Guidelines & Safety Precautions
Before you begin your exercises, keep these safety tips in mind to protect your shoulder:
- Warm-Up: Apply a warm compress or take a warm shower for 10 to 15 minutes before starting. This helps relax the muscles and makes stretching easier.
- The Pain Rule: You should feel a gentle stretch or mild discomfort, but never sharp, pinching, or stabbing pain. If an exercise hurts, stop immediately.
- Consistency is Key: Perform these exercises 2 to 3 times every day. It is better to do short, gentle sessions often than one long, intense session.
- Relaxation: Try to keep your neck and back relaxed. Focus on breathing slowly throughout each stretch.
Exercise 1: Pendulum (Codman's) Exercises
Purpose: To gently distract the shoulder joint, relax tight muscles, and initiate early movement without active muscle contraction.
Equipment Needed: A sturdy table or chair for support.
Starting Position: Stand next to a table or chair. Lean forward slightly and support your body weight with your uninjured arm. Let your injured arm hang straight down toward the floor, completely relaxed.
Instructions:
- Gently sway your body back and forth, allowing the momentum to cause your relaxed arm to swing forward and backward.
- Next, sway your body side to side, letting your arm swing in a side-to-side motion.
- Finally, move your body in a circular motion so your arm traces a small, gentle circle on the floor. Do not use your shoulder muscles to move your arm; let the movement of your body do the work.
Dosage: Perform for 1 to 2 minutes in each direction (forward/backward, side-to-side, circular). Repeat 3 times per day.
Tips to Avoid Mistakes: Do not actively tense your shoulder muscles. The arm should hang like a loose pendulum. If you feel pain, make the circles or swings smaller.
Exercise 2: Table Slides for Flexion
Purpose: To safely increase forward reach and elevation of the arm by using the table to support the weight of your arm.
Equipment Needed: A table, a chair, and a small towel or paper plate to help your hand slide smoothly.
Starting Position: Sit upright in a chair facing a table. Place the towel on the table and rest your hand (on the side of your injured shoulder) on top of it.
Instructions:
- Slowly slide the towel forward, leaning your torso forward from the hips as you reach. Feel a gentle stretch in the armpit and shoulder.
- Hold the position at the furthest comfortable point for 5 to 10 seconds.
- Slowly slide back to the starting position, sitting upright again. Use your torso and the sliding surface to help guide the movement.
Dosage: 2 sets of 10 repetitions, 3 times per day.
Tips to Avoid Mistakes: Avoid hunching your shoulders or shrugging your neck. Make sure your arm slides straight forward, not out to the side. Keep the movement smooth and controlled.
Exercise 3: Assisted External Rotation (Wand Stretch)
Purpose: To stretch the front of the shoulder capsule, which is often the tightest area in frozen shoulder.
Equipment Needed: A stick, cane, broom handle, or umbrella (the \"wand\").
Starting Position: Lie flat on your back on a bed or mat. This relaxes your shoulder blades. Bend your elbows to 90 degrees, holding the wand in both hands. Your palms should face up.
Instructions:
- Keep the elbow of your injured arm tucked close to your side.
- Using your healthy arm, push the wand sideways toward your injured side. This will rotate your injured arm outward.
- Push until you feel a gentle stretch in the front of your shoulder. Hold this stretch for 10 to 15 seconds.
- Slowly return to the starting position.
Dosage: 2 sets of 10 repetitions, 2 to 3 times per day.
Tips to Avoid Mistakes: Do not let the elbow of your injured arm flare away from your side. You can place a small rolled towel under your elbow to keep it in place. Do not force the rotation beyond a comfortable stretch.
Exercise 4: Active-Assisted Wall Walks
Purpose: To rebuild overhead reach and height by using your fingers to assist the arm upward, reducing the strain on your shoulder muscles.
Equipment Needed: A flat wall.
Starting Position: Stand facing a wall, about a foot away. Place the fingertips of your injured arm on the wall at chest height.
Instructions:
- Slowly \"walk\" your fingers up the wall, lifting your arm as high as is comfortable. Move closer to the wall as your arm goes higher.
- Once you reach a point where you feel a gentle stretch, hold that position for 10 seconds.
- Slowly walk your fingers back down the wall to the starting position.
Dosage: 10 repetitions, 2 to 3 times per day.
Tips to Avoid Mistakes: Do not shrug your shoulder up toward your ear. Use your fingers to crawl up the wall rather than lifting the arm purely with shoulder strength. Stand tall and avoid arching your lower back.
Always consult with your physical therapist or doctor before starting a new exercise routine. If any exercise causes persistent pain or swelling, discontinue it and contact your healthcare provider.
Disclaimer: This guide provides general exercise instructions and is not a substitute for professional medical advice. Always consult your doctor or qualified healthcare provider with any questions you may have regarding your specific medical condition and treatment plan.

Related articles
Browse all articlesTrusted External Resources
Curated educational materials to help you make informed decisions about your orthopaedic bone & joint conditions.

Orthopaedia

Orthogate Patient Education