
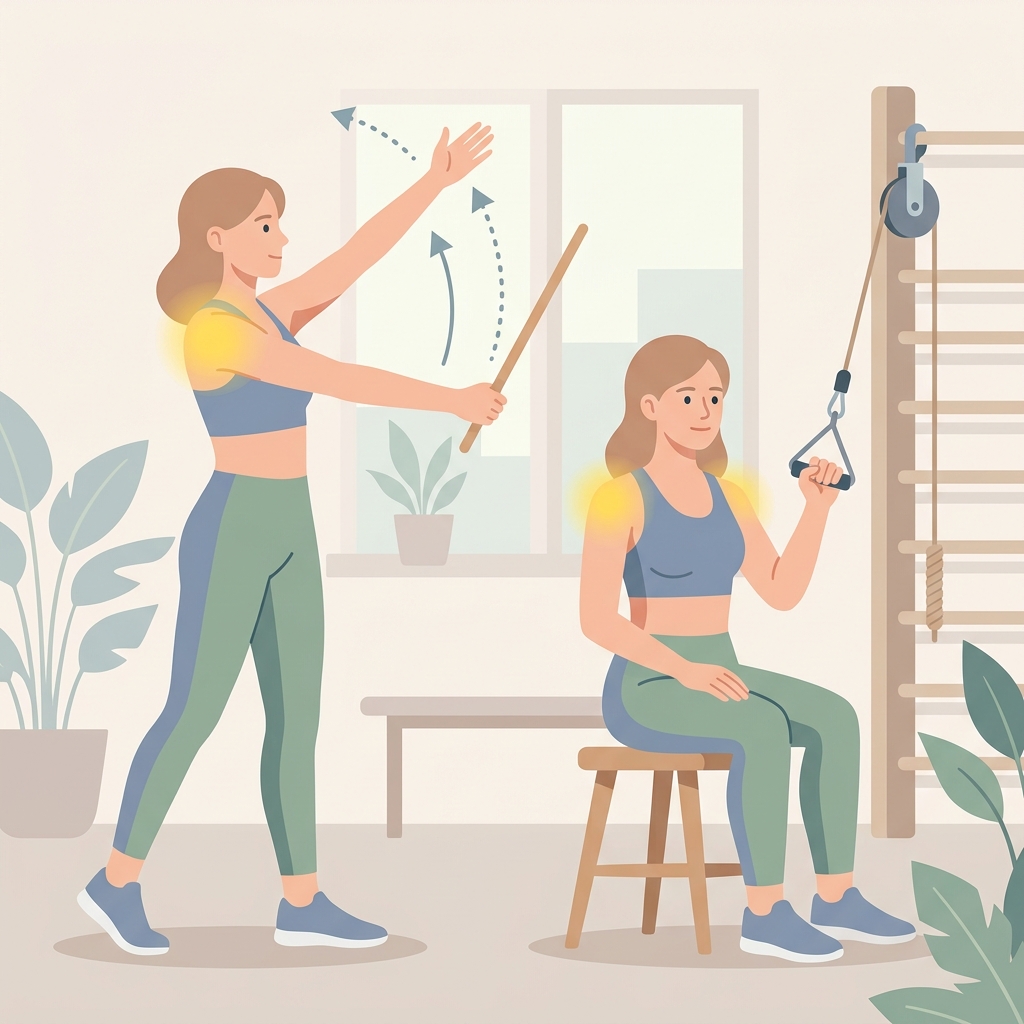
Passive and Active-Assisted Range of Motion (AAROM) Exercises
Step-by-step home exercise guide for Passive and Active-Assisted Range of Motion (AAROM) to improve mobility, strength, and recovery.
Passive and Active-Assisted Range of Motion (AAROM) exercises are crucial first steps in shoulder rehabilitation. These exercises help restore mobility, prevent joint stiffness, and improve blood circulation without overloading healing tissues. By using external aids such as wands, pulleys, and wall slides, you can safely guide your shoulder through its natural movement patterns while staying strictly within a tolerable pain threshold.
General Guidelines & Safety Precautions
- The Pain Threshold Rule: Never force the movement. Perform all exercises within a tolerable pain limit—aim for a mild stretch or gentle tension, never sharp or stabbing pain.
- Warm-up: If allowed by your doctor, apply a warm pack to your shoulder for 10-15 minutes before starting to relax the muscles.
- Controlled Movements: Perform each repetition slowly and smoothly. Avoid jerky or sudden motions.
- Posture: Keep your chest lifted and shoulders relaxed (do not shrug your shoulders up toward your ears).
Exercise 1: Wand/Cane Forward Flexion
Purpose: To safely increase the forward elevation of your arm using your healthy arm to assist.
Equipment Needed: A lightweight wand, cane, broomstick, or PVC pipe.
Starting Position: Lie flat on your back on a firm bed or mat. This position supports your spine and isolates the shoulder joint.
Instructions:
- Hold the wand with both hands, shoulder-width apart, palms facing down.
- Using your unaffected arm to push and guide the wand, slowly raise both arms straight up toward the ceiling.
- Continue to guide the arms overhead as far as comfortable without exceeding your pain threshold.
- Hold the stretch at the top for 5 to 10 seconds.
- Slowly lower the wand back down to the starting position using your unaffected arm for control.
Dosage: Perform 10 to 15 repetitions, 1 to 2 times per day.
Tips/Common Mistakes: Do not arch your lower back to get more range. Keep your elbows as straight as comfortable.
Exercise 2: Wand External Rotation
Purpose: To gently restore outward rotation of the shoulder joint, which is vital for daily activities like reaching or grooming.
Equipment Needed: A wand, cane, or broomstick.
Starting Position: Lie flat on your back. Keep your elbows bent at 90 degrees and tucked close to your sides.
Instructions:
- Hold the wand with both hands, palms facing up.
- Keep the elbow of your affected arm tucked against your side (you can place a rolled towel under the elbow to help keep it in place).
- Using your unaffected arm, push the wand horizontally across your body toward your affected side, rotating the affected arm outward.
- Hold the stretch at the end range for 5 to 10 seconds.
- Slowly return to the starting position.
Dosage: Perform 10 to 15 repetitions, 1 to 2 times per day.
Tips/Common Mistakes: Do not allow the elbow of the affected arm to drift away from your body. Keep the movement horizontal and slow.
Exercise 3: Shoulder Pulley Flexion
Purpose: To utilize a pulley system to passively lift your affected arm using the downward pull of your healthy arm.
Equipment Needed: An over-the-door shoulder pulley system.
Starting Position: Sit comfortably in a chair facing away from the door where the pulley is mounted. Ensure the pulley is securely anchored.
Instructions:
- Hold one handle of the pulley in each hand, with your arms relaxed at your sides.
- Using your healthy arm, pull down on its handle, which will slowly lift your affected arm forward and upward.
- Lift the affected arm as high as comfortable, allowing it to relax completely as the pulley does the lifting work.
- Hold the elevated position for 5 seconds.
- Slowly lower the affected arm back down by controlling the release with your healthy arm.
Dosage: Perform 10 to 15 repetitions, 1 to 2 times per day.
Tips/Common Mistakes: Keep the affected arm as relaxed as possible—let the pulley and your healthy arm do all the work. Do not shrug your shoulder up as you lift.
Exercise 4: Wall Slides (Active-Assisted)
Purpose: To slide your hand up a wall to assist with raising your arm, utilizing the wall to support the weight of your arm.
Equipment Needed: A smooth wall surface. A small towel or washcloth under your hand can help it slide more easily.
Starting Position: Stand facing the wall, about a half-step away. Place the pinky side of your hand (or both hands) against the wall at chest height, with elbows bent.
Instructions:
- Gently press your hand against the wall.
- Slowly slide your hand up the wall, straightening your elbow and reaching upward as far as comfortable.
- As you reach the top, take a small step closer to the wall if you need to deepen the stretch safely.
- Hold the stretch at the highest comfortable point for 5 to 10 seconds.
- Slowly slide your hand back down to the starting position.
Dosage: Perform 10 to 15 repetitions, 1 to 2 times per day.
Tips/Common Mistakes: Do not lean forward or arch your back to push your arm higher. If sliding is difficult, use a towel under your hand to reduce friction.
Always consult with your physical therapist or doctor before starting a new exercise routine. If any exercise causes persistent pain or swelling, discontinue it and contact your healthcare provider.
Disclaimer: This guide provides general exercise instructions and is not a substitute for professional medical advice. Always consult your doctor or qualified healthcare provider with any questions you may have regarding your specific medical condition and treatment plan.

Related articles
Browse all articlesTrusted External Resources
Curated educational materials to help you make informed decisions about your orthopaedic bone & joint conditions.

Orthopaedia

Orthogate Patient Education