
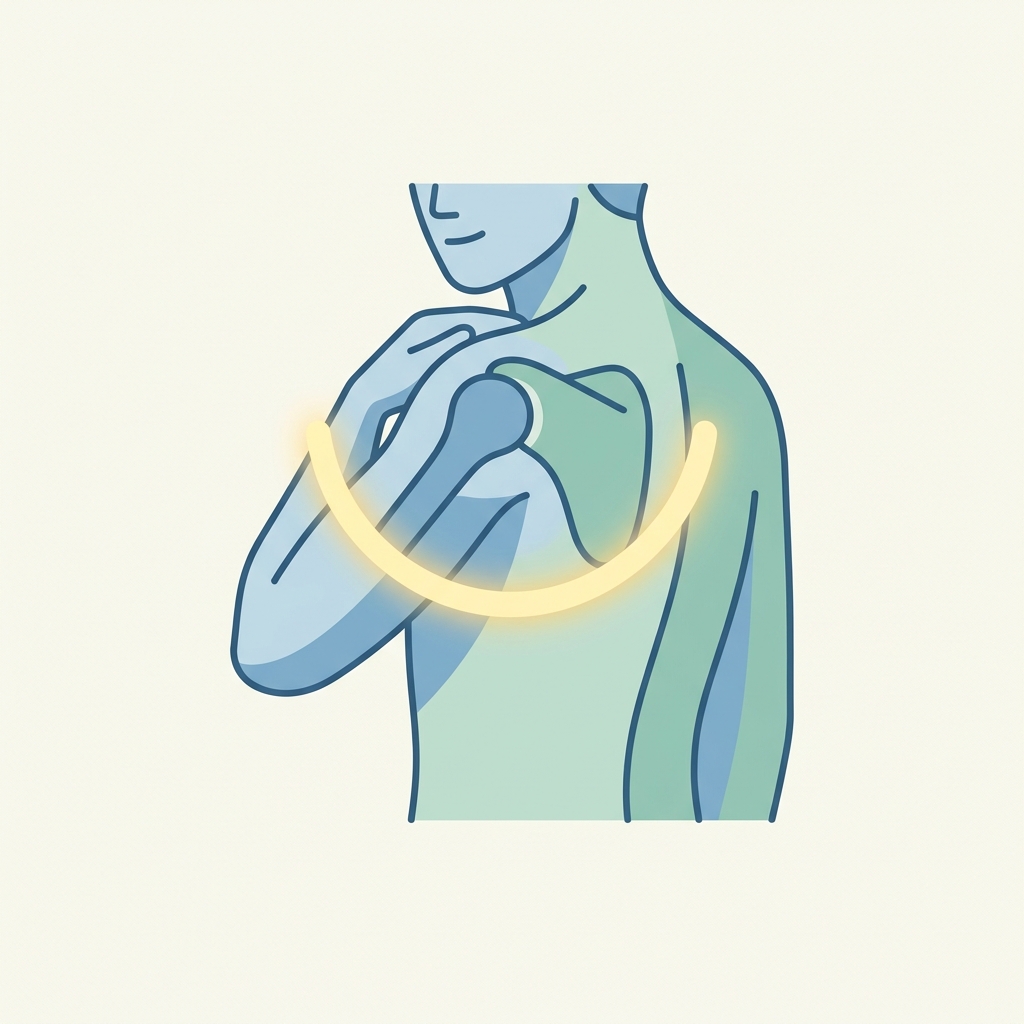
AC Joint Offloading Exercises
Early-stage exercises that minimize vertical traction on the clavicle to protect and heal the AC joint.
The acromioclavicular (AC) joint is the junction where your collarbone (clavicle) meets the highest point of your shoulder blade (acromion). Following an AC joint injury, such as a sprain or separation, the ligaments holding these bones together are stretched or torn. In the early stages of recovery, minimizing vertical traction—the downward pull of gravity on your arm—is essential to reduce stress on the healing ligaments and prevent further clavicle elevation.
Active rehabilitation is a cornerstone of recovery. The exercises outlined in this guide are designed to help you gently activate your shoulder muscles and maintain range of motion while keeping the joint safely offloaded. Always perform these movements within a pain-free range.
General Guidelines & Safety Precautions
- Avoid Hanging Arms: Never let your injured arm hang unsupported by your side in the early stages. Use a sling as directed, or rest your arm on a table or pillow when sitting.
- The Pain Rule: All exercises should be entirely pain-free. If you feel a sharp or pinching pain, stop immediately.
- Support Your Arm: Ensure you have a smooth surface (like a table with a folded towel or slide sheet) to fully support the weight of your arm during the movements.
- Frequency: Perform this routine 1 to 2 times daily, unless otherwise advised by your healthcare team.
Exercise 1: Tabletop Forward Slides (Supported Flexion)
Purpose: Restores forward shoulder movement without letting gravity pull down on the AC joint.
Equipment Needed: A stable table and a folded towel or slide sheet.
Starting Position: Sit upright in a comfortable chair at a table. Rest your forearm and hand of your injured side on a folded towel placed on the table.
Instructions:
- Keep your hand and shoulder completely relaxed.
- Slowly slide the towel forward by leaning your torso slightly forward.
- Let the table support the entire weight of your arm; do not lift your arm.
- Slide forward until you feel a gentle, comfortable stretch in the shoulder.
- Slowly slide back to the starting position by uprighting your torso.
Dosage: 2 sets of 10 repetitions, twice daily.
Tips/Common Mistakes: Do not shrug your shoulder toward your ear during the slide. Keep the movement smooth and controlled.
Exercise 2: Tabletop Lateral Slides (Supported Abduction)
Purpose: Restores outward shoulder movement while keeping the AC joint offloaded.
Equipment Needed: A stable table and a folded towel.
Starting Position: Sit sideways next to the table. Rest your forearm and hand on the towel.
Instructions:
- Relax your shoulder and arm.
- Slowly slide the towel outward, away from your side.
- Let the table carry the arm's weight as it glides.
- Slide outward until you feel a gentle stretch, then slowly pull the arm back to your side.
Dosage: 2 sets of 10 repetitions, twice daily.
Tips/Common Mistakes: Keep your body still. Do not lean your chest or spine sideways to push the arm further.
Exercise 3: Supported Scapular Elevation (Offloading Shrugs)
Purpose: Elevates the shoulder blade to push up the acromion, bringing it closer to the clavicle and reducing ligament tension.
Equipment Needed: A chair with high armrests or a table.
Starting Position: Sit upright. Rest your elbow and forearm on a supportive armrest or table, so that your shoulder is pushed slightly upward (relieving any heavy, downward pull).
Instructions:
- From this supported position, gently lift your shoulder blade upward toward your ear.
- Hold this position for 2 to 3 seconds.
- Slowly lower the shoulder blade back to the starting supported position.
Dosage: 2 sets of 10-12 repetitions, twice daily.
Tips/Common Mistakes: Do not let your arm slide off the support. The elbow must remain supported to prevent gravity from pulling down.
Exercise 4: Supported Isometric External Rotation
Purpose: Activates the rotator cuff muscles for stability without joint movement or clavicle traction.
Equipment Needed: A table or a thick pillow in your lap.
Starting Position: Sit upright. Rest your forearm on the table or pillow with your elbow bent at 90 degrees and kept close to your side.
Instructions:
- Place your opposite hand on the outside of the wrist of your injured arm.
- Gently press your injured wrist outward into your opposite hand.
- Resist the movement with your opposite hand so that your arm does not move.
- Hold the gentle contraction for 5 seconds, then slowly release.
Dosage: 2 sets of 8-10 repetitions, twice daily.
Tips/Common Mistakes: Use only a light effort (20% to 30% of maximum). This should be completely pain-free.
Always consult with your physical therapist or doctor before starting a new exercise routine. If any exercise causes persistent pain or swelling, discontinue it and contact your healthcare provider.
Disclaimer: This guide provides general exercise instructions and is not a substitute for professional medical advice. Always consult your doctor or qualified healthcare provider with any questions you may have regarding your specific medical condition and treatment plan.

Related articles
Browse all articlesTrusted External Resources
Curated educational materials to help you make informed decisions about your orthopaedic bone & joint conditions.

Orthopaedia
Orthogate Patient Education