
Subacromial Space Decompression Exercises
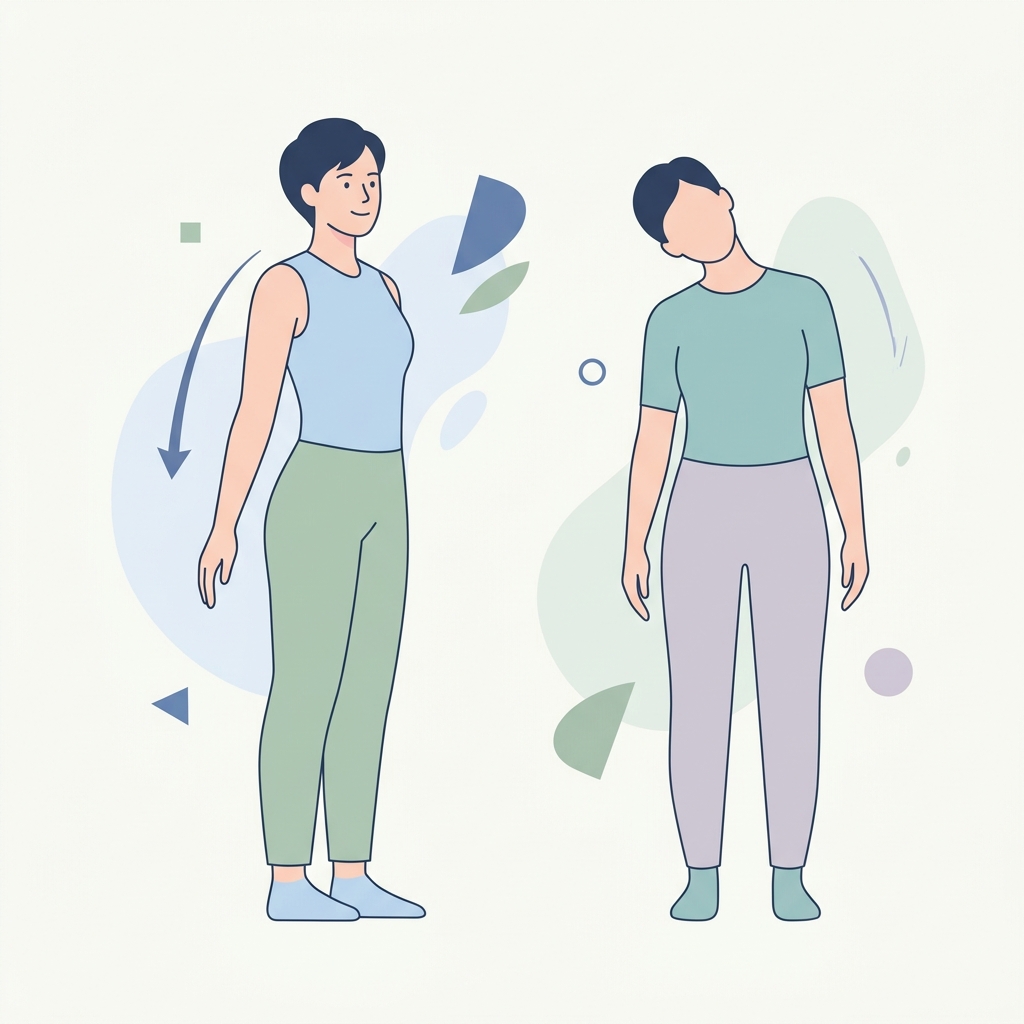
Step-by-step home exercise guide for Subacromial Space Decompression focusing on inferior humeral head glides to reduce mechanical pinching.
Active rehabilitation is a cornerstone of recovery. The subacromial space is the narrow gap between the top of your arm bone (humeral head) and the bony roof of your shoulder (acromion). When you raise your arm, this space naturally narrows. If the rotator cuff or bursa becomes swollen or inflamed, it can get mechanically pinched (impinged) between these bones. This guide outlines home exercises designed to focus on inferior humeral head glides—movements that gently pull the arm bone downward to widen the subacromial space, relieve pinching, and restore pain-free shoulder mobility.
General Guidelines & Safety Precautions
Before beginning, please review these safety guidelines to ensure a safe and effective recovery:
- Warm-Up: Warm up your shoulder for 5 minutes before exercising. You can use a warm compress, take a warm shower, or perform light, gentle movements like arm swings.
- The Pain Rule: Exercises should feel like a mild stretch or a gentle muscle workout. You should NOT feel sharp, stabbing, or pinching pain. If any exercise causes sharp pain, stop immediately.
- Slow and Controlled: Perform all movements slowly, focusing on proper form rather than speed or resistance.
- Posture: Always maintain an upright posture with your shoulders rolled back and down. Avoid shrugging your shoulders during any of these movements.
The Exercises
Exercise 1: Pendulum Exercises (Codman's Pendulums)
Purpose: Uses gravity to create a gentle downward pull (traction) on the arm bone, which naturally widens the subacromial space and relaxes the surrounding shoulder muscles.
Equipment Needed: A sturdy table, kitchen counter, or back of a chair for support.
Starting Position: Stand next to the table or chair. Lean forward from your hips, supporting your upper body weight by placing your unaffected arm on the table. Let your affected arm hang straight down toward the floor, completely relaxed like a pendulum.
Step-by-Step Instructions:
- Gently sway your body forward and backward, letting the momentum cause your relaxed arm to swing gently back and forth.
- Sway your body side-to-side to make your arm swing in a side-to-side motion.
- Shift your weight in a small circular motion to let your arm swing in gentle circles (clockwise, then counter-clockwise).
- Ensure your shoulder muscles remain completely relaxed; the motion should be driven entirely by the sway of your body.
Dosage: Perform 2 sets of 10 circular swings in each direction (clockwise and counter-clockwise), twice daily.
Tips & Common Mistakes: Do not actively use your shoulder muscles to move your arm. The arm should hang and swing passively like a heavy pendulum.
Exercise 2: Axillary Roll Squeeze (Leverage Glide)
Purpose: Uses a rolled towel under the armpit as a fulcrum. Squeezing against it creates a leverage effect that glides the arm bone downward and outward, decompressing the subacromial space.
Equipment Needed: A medium-sized towel rolled up tightly (about the thickness of a water bottle).
Starting Position: Sit or stand upright with good posture. Place the rolled towel high up in your armpit on the affected side. Let your upper arm rest against the side of your body over the towel.
Step-by-Step Instructions:
- Gently squeeze your upper arm inward against the towel roll, using the muscles on the side of your body.
- Keep your shoulder blade relaxed and depressed (do not shrug your shoulder toward your ear).
- Hold this gentle squeeze for 5 to 10 seconds. You should feel a subtle decompression or stretching sensation at the top of your shoulder.
- Slowly release the squeeze and rest for a few seconds before the next repetition.
Dosage: 2 sets of 10 repetitions, holding each squeeze for 5-10 seconds, twice daily.
Tips & Common Mistakes: Avoid shrugging your shoulder upward or tensing your neck muscles. The movement should be a downward and inward compression.
Exercise 3: Prone Inferior Glide Stretch (Table Slide)
Purpose: Combines active-assisted movement with gravity to glide the humeral head downward while stretching the upper shoulder capsule.
Equipment Needed: A dining table or desk, and a soft cloth or towel to slide your arm on.
Starting Position: Sit comfortably in a chair facing the table. Place the soft towel on the table and rest your affected hand and forearm on it, with your elbow bent.
Step-by-Step Instructions:
- Slowly slide your forearm forward across the table.
- As you slide your arm forward, bend forward at the hips, lowering your chest toward the table. This elevates your arm relative to your body.
- Focus on pulling your shoulder blade down and back as you slide forward, resisting the urge to let the shoulder shrug up toward your ear.
- Stop sliding when you feel a comfortable stretch at the back or side of the shoulder. Hold this position for 15 to 20 seconds.
- Gently slide back to the starting position and sit upright.
Dosage: 3 sets of 5 repetitions, holding each slide for 15-20 seconds, once daily.
Tips & Common Mistakes: Let your torso's movement drive the stretch; do not push through sharp pinching pain. Keep your forearm relaxed on the table throughout.
Exercise 4: Resisted Shoulder Extension (Humeral Head Depressor Strengthening)
Purpose: Strengthens the large muscles (latissimus dorsi and teres major) that pull the arm bone downward (inferiorly) during arm movement, helping to maintain space and prevent pinching.
Equipment Needed: A light resistance band (e.g., TheraBand) anchored securely at or above head height.
Starting Position: Stand tall facing the anchor point. Hold the end of the resistance band in your affected hand with your arm extended forward at chest height, elbow straight but not locked.
Step-by-Step Instructions:
- Engage your shoulder blade muscles by shrugging your shoulder blade downward and slightly backward.
- Keeping your elbow straight, pull the band downward and backward until your hand is in line with or slightly behind your hip.
- Focus on the contraction in your armpit and back muscles as you pull, keeping the shoulder depressed.
- Slowly and under control, return your arm to the starting chest-height position.
Dosage: 3 sets of 10 repetitions, once daily.
Tips & Common Mistakes: Do not allow your body to lean backward to pull the band; keep your torso upright and still. Avoid shrugging or letting your shoulder tip forward at the end of the movement.
Always consult with your physical therapist or doctor before starting a new exercise routine. If any exercise causes persistent pain or swelling, discontinue it and contact your healthcare provider.
Disclaimer: This guide provides general exercise instructions and is not a substitute for professional medical advice. Always consult your doctor or qualified healthcare provider with any questions you may have regarding your specific medical condition and treatment plan.

Related articles
Browse all articlesTrusted External Resources
Curated educational materials to help you make informed decisions about your orthopaedic bone & joint conditions.

Orthopaedia

Orthogate Patient Education