The Thrower’s Ten / Overhead Athlete Maintenance Protocol
A high-level strengthening program to prevent injury in overhead athletes, utilizing advanced rotator cuff and scapular stabilization drills.
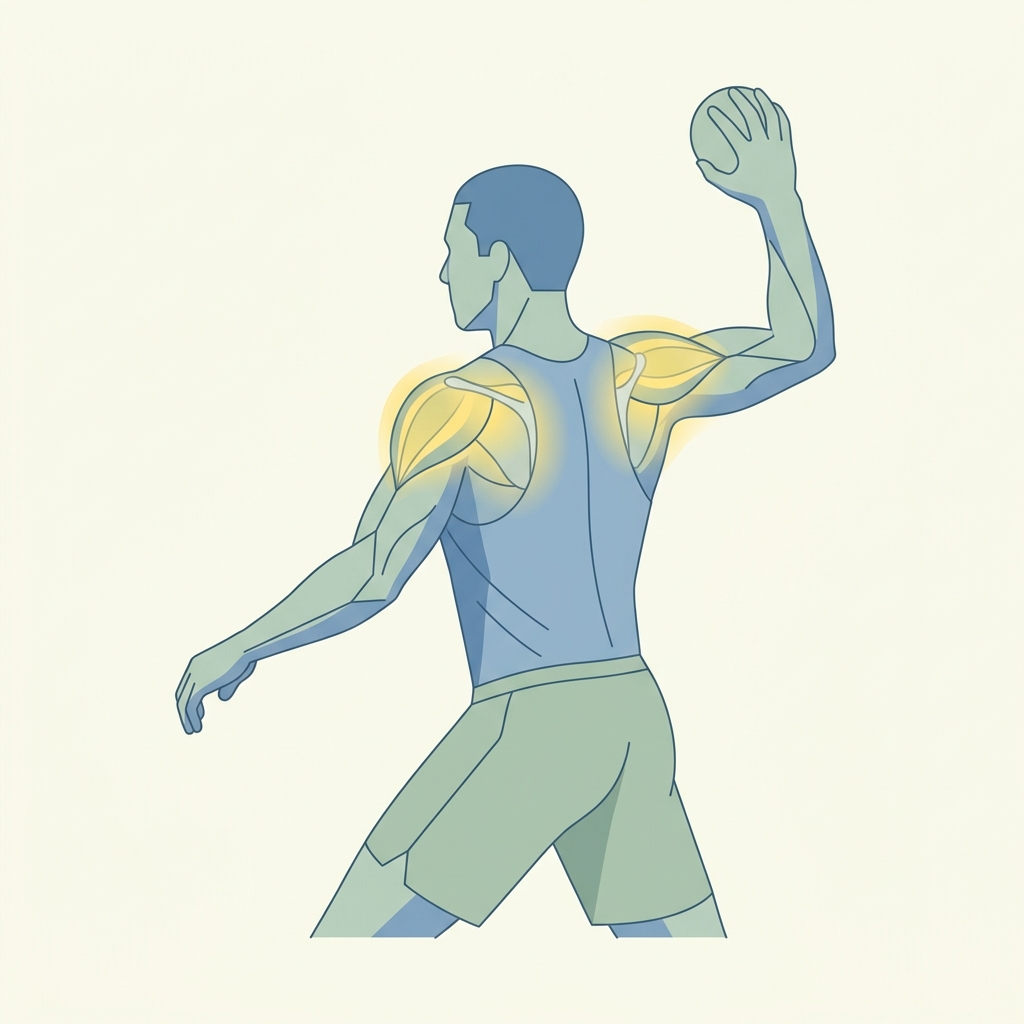
The Thrower’s Ten Program is a comprehensive, clinically proven exercise regimen designed to strengthen the shoulder, rotator cuff, scapular stabilizers, and elbow/wrist complex. For overhead athletes—including baseball players, tennis players, quarterbacks, and swimmers—this protocol serves as an essential maintenance tool to enhance dynamic stability, control force transmission, and prevent repetitive stress injuries. By integrating advanced dynamic perturbations and plyometrics, this protocol prepares the athlete for the extreme physical demands of overhead sports.
Program Guidelines & Safety Precautions
- Warm-Up: Complete 5–10 minutes of light cardiovascular activity and active range-of-motion stretching before starting.
- Pain Rule: Exercises should challenge your muscles but should not cause joint pain. If you experience sharp, pinching, or stabbing pain, stop the exercise immediately.
- Frequency: Perform these exercises 2 to 3 times per week during the off-season, and 1 to 2 times per week during the competitive season as maintenance.
The Thrower's Ten Exercises
Exercise 1: Diagonal Patterns (D1 & D2)
Purpose: Strengthens the coordinated movement patterns used in throwing and overhead sports, enhancing muscular synergy.
Equipment Needed: Elastic resistance band or cable column.
Starting Position: Stand tall, anchoring the band either low (for D1) or high (for D2) to pull diagonally across the body.
- Step-by-Step Instructions:
- For D1 Flexion/Extension: Start with the hand near the opposite hip (thumb down). Pull up and across the body to end above the same-side shoulder (thumb up/out). Slowly return.
- For D2 Flexion/Extension: Start with the hand at the opposite pocket. Pull up, outward, and back diagonally (ending with hand high and open, thumb up/out). Slowly return.
- Dosage/Parameters: 2 sets of 10–12 repetitions.
- Tips & Advanced Progression: Avoid shrugging the shoulder. For an advanced progression, add a 2-second isometric hold at the peak of the movement against high resistance.
Exercise 2: External Rotation at 0 degrees Abduction
Purpose: Targets the infraspinatus and teres minor to stabilize the humeral head in the socket during deceleration.
Equipment Needed: Elastic resistance band or light dumbbell, towel roll.
Starting Position: Stand side-on to the band anchor. Place a small towel roll between your elbow and your side. Keep the elbow bent at 90 degrees.
- Step-by-Step Instructions:
- Grasp the band handle with the outer hand.
- Rotate your forearm outward away from your stomach, keeping your elbow pinned to the towel roll.
- Slowly return to the starting position under control.
- Dosage/Parameters: 2 sets of 15 repetitions.
- Tips & Advanced Progression: Keep the wrist straight. Advance by using a perturbation band or performing rapid, short-range pulses at the outer limit of the motion.
Exercise 3: Internal Rotation at 0 degrees Abduction
Purpose: Strengthens the subscapularis and pectoralis major to build power during the acceleration phase of throwing.
Equipment Needed: Elastic resistance band, towel roll.
Starting Position: Stand side-on to the band anchor. Place a small towel roll between your elbow and your side. Elbow bent at 90 degrees.
- Step-by-Step Instructions:
- Grasp the band handle with the inner hand.
- Pull the forearm inward across your stomach, keeping your elbow pinned to the towel roll.
- Slowly return to the start position.
- Dosage/Parameters: 2 sets of 15 repetitions.
- Tips & Advanced Progression: Avoid rotating your torso. Advance by incorporating a quick 1-second concentric pull followed by a slow 4-second eccentric release.
Exercise 4: External Rotation at 90 degrees Abduction (90/90 ER)
Purpose: Strengthens the posterior rotator cuff in the specific overhead throwing position to prevent posterior impingement.
Equipment Needed: Elastic resistance band or light dumbbell.
Starting Position: Stand facing the band anchor. Abduct your arm to 90 degrees and bend the elbow to 90 degrees, so your upper arm is parallel to the ground.
- Step-by-Step Instructions:
- Starting with the forearm parallel to the ground (pointing forward), rotate the arm backward so the forearm points upward.
- Keep your shoulder and elbow aligned at 90 degrees throughout the movement.
- Slowly return the arm to the starting position.
- Dosage/Parameters: 2 sets of 12 repetitions.
- Tips & Advanced Progression: Do not allow the elbow to drop. Advance by using a rebounder ball toss (plyometrics) in the 90/90 position.
Exercise 5: Internal Rotation at 90 degrees Abduction (90/90 IR)
Purpose: Builds power in the subscapularis and anterior stabilizers in the functional overhead position.
Equipment Needed: Elastic resistance band or light dumbbell.
Starting Position: Stand facing away from the band anchor. Position your arm at 90 degrees abduction and 90 degrees elbow flexion.
- Step-by-Step Instructions:
- Starting with the hand pointing upward, pull the forearm forward and down until it is parallel to the ground.
- Maintain the elbow position without letting it drop or slide forward.
- Slowly return to the upright position.
- Dosage/Parameters: 2 sets of 12 repetitions.
- Tips & Advanced Progression: Keep the scapula stable. Advance to high-speed elastic pulls mimicking the throwing acceleration path.
Exercise 6: Shoulder Abduction to 90 degrees
Purpose: Strengthens the middle deltoid and supraspinatus for stable elevation of the arm.
Equipment Needed: Light dumbbells.
Starting Position: Stand tall with your arms at your sides, holding dumbbells with your palms facing inward.
- Step-by-Step Instructions:
- Raise your arms straight out to the sides until they are level with your shoulders (90 degrees).
- Keep your elbows straight and do not lift past shoulder height.
- Lower your arms slowly back to your sides.
- Dosage/Parameters: 2 sets of 10–12 repetitions.
- Tips & Advanced Progression: Avoid shrugging your neck. For an advanced challenge, perform with a 4-second eccentric (lowering) phase to build deceleration control.
Exercise 7: Scaption ("Full Can" Exercise)
Purpose: Targets the supraspinatus muscle within the natural scapular plane, minimizing the risk of subacromial impingement.
Equipment Needed: Light dumbbells.
Starting Position: Stand tall. Hold dumbbells at your sides with your thumbs pointing upward.
- Step-by-Step Instructions:
- Raise your arms forward and outward at a 30-degree angle (the scapular plane) up to shoulder height.
- Ensure your thumbs remain pointed upward throughout the lift.
- Slowly lower the weights under control.
- Dosage/Parameters: 2 sets of 12–15 repetitions.
- Tips & Advanced Progression: Avoid leaning backward. Advance by adding a 3-second hold at 90 degrees of elevation.
Exercise 8: Prone Support Series (T's, Y's, A's, and Rows)
Purpose: Strengthens the middle and lower trapezius, rhomboids, and posterior cuff to optimize scapular movement and prevent winging.
Equipment Needed: Flat or incline exercise bench, light dumbbells.
Starting Position: Lie face down on the bench. Allow your arms to hang straight down toward the floor.
- Step-by-Step Instructions:
- T's (Horizontal Abduction): Raise your arms straight out to the sides with thumbs pointing up, forming a 'T'. Squeeze the shoulder blades. Lower slowly.
- Y's (Scapular Elevation): Raise your arms diagonally forward at a 45-degree angle with thumbs pointing up, forming a 'Y'. Lower slowly.
- A's (Prone Extension): Raise your arms backward along your sides, palms facing up, forming an 'A'. Lower slowly.
- Prone Row to External Rotation (90/90 Row): Row your elbows up to 90 degrees, then rotate your forearms upward. Rotate back down and lower.
- Dosage/Parameters: 2 sets of 10 repetitions for each position.
- Tips & Advanced Progression: Keep the forehead resting on the bench to prevent neck strain. Advance by holding a light weight and adding a 3-second pause at the peak of each lift.
Exercise 9: Press-Ups (Scapular Dips)
Purpose: Strengthens the serratus anterior and lower trapezius to facilitate healthy scapular rotation and depression during overhead motion.
Equipment Needed: A sturdy chair, bench, or parallel bars.
Starting Position: Sit on the edge of the bench, placing your hands next to your hips. Slide your hips forward off the seat, supporting your weight with your arms.
- Step-by-Step Instructions:
- Lower your hips slightly by letting your shoulders shrug upward toward your ears.
- Press down hard through your hands to lift your body back up, depressing your shoulders and squeezing your shoulder blades down and back.
- Hold the top position for 2 seconds before repeating.
- Dosage/Parameters: 2 sets of 15 repetitions.
- Tips & Advanced Progression: Keep your elbows straight throughout the movement; the motion should occur entirely at the shoulder blades.
Exercise 10: Wrist and Elbow Conditioning
Purpose: Strengthens the forearm flexors and extensors, along with the pronator teres, to protect the medial elbow (UCL) from valgus torque during throwing.
Equipment Needed: Dumbbell or weighted bar.
Starting Position: Sit with your forearm supported on your thigh or a table, with your hand hanging over the edge.
- Step-by-Step Instructions:
- Wrist Flexion: Hold dumbbell with palm facing up. Curl the wrist upward, then lower slowly.
- Wrist Extension: Turn palm down. Curl the wrist upward, then lower slowly.
- Pronation/Supination: Hold a dumbbell by the bottom of the handle. Rotate your hand from palm-up to palm-down. Return to start.
- Dosage/Parameters: 2 sets of 15 repetitions for each movement.
- Tips & Advanced Progression: Keep the forearm flat on the surface; don't let the elbow lift. Move through a full range of motion.
Always consult with your physical therapist or doctor before starting a new exercise routine. If any exercise causes persistent pain or swelling, discontinue it and contact your healthcare provider.
Disclaimer: This guide provides general exercise instructions and is not a substitute for professional medical advice. Always consult your doctor or qualified healthcare provider with any questions you may have regarding your specific medical condition and treatment plan.

Related articles
Browse all articlesTrusted External Resources
Curated educational materials to help you make informed decisions about your orthopaedic bone & joint conditions.

Orthopaedia

Orthogate Patient Education