
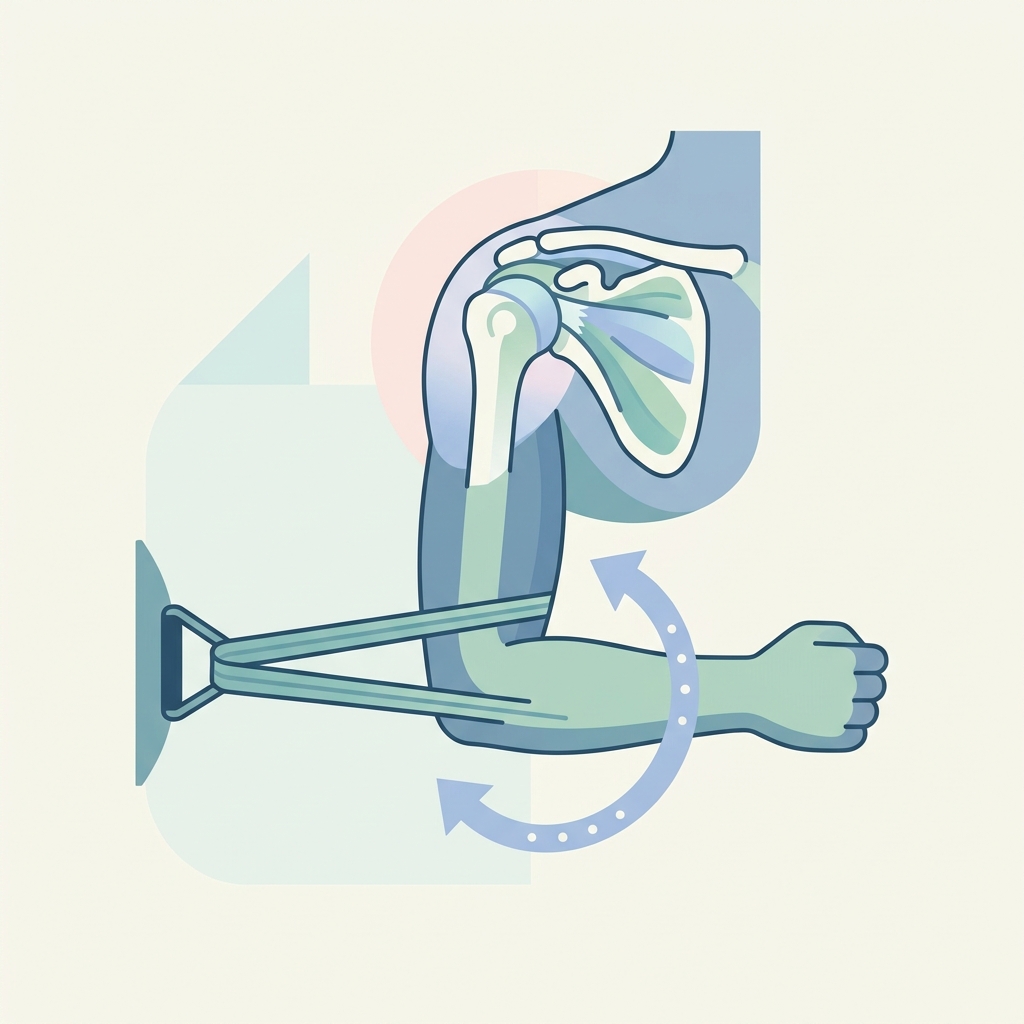
Resistance Band Biomechanics (Phase 2) Exercises
Step-by-step home exercise guide for Resistance Band Biomechanics: Optimizing tension arcs for internal and external rotation (Phase 2).
Resistance band training is a highly effective way to strengthen your rotator cuff during Phase 2 of your recovery. In this phase, we transition from active-assisted range of motion to active resistance. By understanding the biomechanics of resistance bands, you can optimize the tension across the movement arcs for both internal and external shoulder rotation. This ensures your muscles are challenged at the correct angles, preventing joint strain and maximizing functional strength.
General Guidelines & Safety Precautions
- Warm-Up: Spend 5 minutes performing light movements such as arm swings, shoulder shrugs, and gentle pendulum circles.
- Pain Rule: Exercises should feel challenging but never cause sharp, pinching, or stabbing pain. If your pain exceeds a 3 out of 10, stop immediately.
- Controlled Movement: Focus on smooth, slow movements. Avoid snapping the band back. The release (eccentric phase) is just as important as the pull (concentric phase).
The Exercises
Exercise 1: Neutral Resisted External Rotation (0° Abduction)
Purpose: Strengthens the infraspinatus and teres minor (muscles that rotate the arm outward) to improve dynamic stability.
Equipment Needed: Light to medium resistance band, anchor point (door handle or heavy post), rolled-up bath towel.
Starting Position: Anchor the band at elbow height. Stand sideways to the anchor. Place the rolled towel between your side and the elbow of your outside arm. Hold the band with the outside hand, elbow bent at 90 degrees, forearm resting across your stomach.
Step-by-Step Instructions:
- Keep your shoulder blades squeezed gently down and back.
- Keeping your elbow firmly pinned against the towel roll at your side, slowly rotate your forearm outward away from your stomach.
- Move only as far as you can comfortably control without twisting your body.
- Pause for 1–2 seconds at the end of the movement.
- Slowly return to the starting position over a 3-second count.
Dosage/Parameters: 2–3 sets of 10–12 repetitions, once daily.
Tips/Common Mistakes: Do not let your elbow drift away from the towel roll. If you find yourself leaning or twisting your torso, reduce the resistance of the band.
Exercise 2: Neutral Resisted Internal Rotation (0° Abduction)
Purpose: Targets the subscapularis muscle (the front part of the rotator cuff) to balance the shoulder joint.
Equipment Needed: Light to medium resistance band, anchor point, rolled-up bath towel.
Starting Position: Anchor the band at elbow height. Stand sideways to the anchor, but this time hold the band with your inside hand. Place the rolled towel between your side and your inside elbow. Bend your elbow to 90 degrees, with your arm starting rotated outward.
Step-by-Step Instructions:
- Keep your chest open and your posture tall.
- Keeping your elbow pinned against the towel roll, pull your forearm inward across your stomach.
- Stop once your arm touches your stomach.
- Hold the contraction for 1–2 seconds.
- Slowly release the band back to the starting position under control.
Dosage/Parameters: 2–3 sets of 10–12 repetitions, once daily.
Tips/Common Mistakes: Keep your wrist straight; do not bend your hand inward to pull the band. Do not let your shoulder roll forward as you pull.
Exercise 3: Resisted External Rotation in 45° Abduction
Purpose: Challenges the infraspinatus and teres minor at a higher angle, optimizing the rotator cuff's stabilizing capacity in functional, elevated positions.
Equipment Needed: Light resistance band, anchor point.
Starting Position: Anchor the band at hip height. Stand sideways to the anchor. Lift your outside elbow up and away from your side so it is elevated at a 45-degree angle (halfway to shoulder height) in the scapular plane (slightly forward of your side). Hold the band, elbow bent at 90 degrees.
Step-by-Step Instructions:
- Maintain your elbow at the 45-degree elevated position throughout the exercise.
- Slowly rotate your forearm outward and upward against the band's resistance.
- Keep your shoulder blade stable and do not shrug your shoulder.
- Hold for 1 second at the peak.
- Return slowly to the starting position.
Dosage/Parameters: 2 sets of 10 repetitions, once daily.
Tips/Common Mistakes: Keep your elbow elevated; do not let it drop toward your side during the rotation. If you feel pinching in the top of the shoulder, lower the elbow slightly or use a lighter band.
Exercise 4: Resisted Internal Rotation in 45° Abduction
Purpose: Strengthens the subscapularis in a functional elevated position to stabilize the head of the humerus.
Equipment Needed: Light resistance band, anchor point.
Starting Position: Anchor the band at shoulder height. Stand sideways to the anchor, holding the band with your inside hand. Elevate your elbow to 45 degrees in the scapular plane, elbow bent at 90 degrees.
Step-by-Step Instructions:
- Keeping your elbow held stable at a 45-degree angle, rotate your forearm downward and inward against the band.
- Keep your chest forward and avoid rotating your upper body toward the anchor.
- Pause briefly at the end of the movement.
- Slowly resist the band as your forearm returns to the starting position.
Dosage/Parameters: 2 sets of 10 repetitions, once daily.
Tips/Common Mistakes: Make sure you do not shrug your shoulder toward your ear. Keep your shoulder blades retracted.
Always consult with your physical therapist or doctor before starting a new exercise routine. If any exercise causes persistent pain or swelling, discontinue it and contact your healthcare provider.
Disclaimer: This guide provides general exercise instructions and is not a substitute for professional medical advice. Always consult your doctor or qualified healthcare provider with any questions you may have regarding your specific medical condition and treatment plan.

Related articles
Browse all articlesTrusted External Resources
Curated educational materials to help you make informed decisions about your orthopaedic bone & joint conditions.

Orthopaedia

Orthogate Patient Education